
One of the most important components of operating construction equipment is regular maintenance. By conducting frequent inspections, you extend the life span of your equipment and prevent downtime. You can also complete your construction work more efficiently and safely.
An excavator undercarriage is one part you should inspect carefully. The undercarriage supports the machine’s weight and endures extreme wear with each use. It’s essential to check it often to keep it protected.
Here’s a guide on how to check the undercarriage of an excavator.

First things first, an excavator undercarriage is the supporting framework underneath the machine. The wheels get attached to the undercarriage and allow the excavator to move.
There are multiple excavator undercarriage parts, including:
The excavator undercarriage functions properly when all parts are in order and work together.

It’s best to be as thorough as possible when inspecting your undercarriage. Many professionals recommend using a checklist, marking off each part after checking it. That way, you don’t miss any critical features that might be functioning incorrectly.
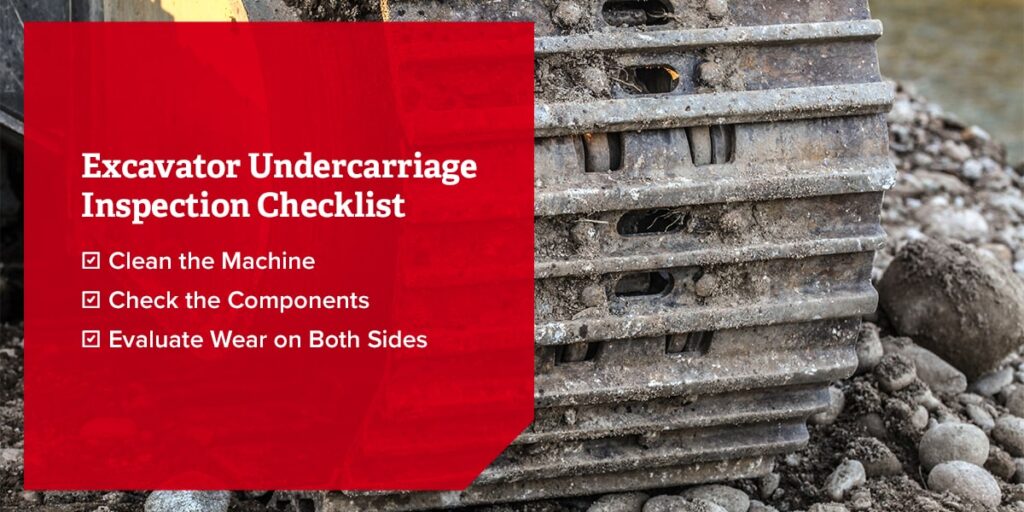
Here is a checklist for evaluating your excavator undercarriage.
Before you begin the inspection, take time to clean your undercarriage. The cleaner it is, the more likely you will notice small problems. Too much dirt can keep the machine from functioning correctly. Mud can grind against rollers and gears, stopping the excavator’s movements. So, a dirty machine might cause you to record inaccurate inspection results.
To clean your undercarriage, remove all the extraneous parts and move the machine into a wash area. Clean off extra dirt with a shovel or other tool before rinsing the rest of the machine. Lastly, remove grease and other build-up with a pressure wash.
After you clean your machine, it’s time to inspect the different parts in the undercarriage. We recommend starting at one side and checking everything before moving to the next side.
You can follow along with a checklist and mark off each part after inspecting it. If something seems off, make a note as you move along. Here is a sample list of components and what to check for:
You can also add additional components to your checklist, but those are some of the major parts of a comprehensive checklist.
Lastly, inspect both sides of your undercarriage for wear distribution. Excavator undercarriage wear is often seen best by viewing both sides at once. To do this, look at the left track and the right track and see if one side shows more wear than the other. Note any discrepancies on your checklist. If one side shows significantly more damage, you might think about replacing or repairing it.

Once you complete an excavator undercarriage inspection, you might find that some parts are damaged or showing wear. Mini excavators can last for up to 10,000 hours, but it’s recommended for you to inspect your undercarriage every 1,000 to 2,000 hours. Inspecting your undercarriage regularly can increase your excavator undercarriage’s life expectancy. A mini excavator undercarriage lasts about the same amount as a regular undercarriage. So, if one of your machines is nearing that age, you might consider a replacement soon.
If you notice injuries on your undercarriage and aren’t sure what to do next, there are typically two major options:
You can also follow other preventative measures to keep the damages from happening in the first place. By following the correct operating procedures and checking your undercarriage regularly, you can keep it running smoothly.
Here are more tips for keeping your undercarriage functioning efficiently:
By practicing regular maintenance and treating your machinery properly, you can extend its life span and prevent costly repairs.
